

Overview
Policromix is a game that features many universes. This leads to many unique characters, features and storylines. This makes for a very diverse inventory of cards for you to peruse and build your perfect deck. Whether you want to mix and match or stick to one universe, the choice is yours.
Let’s dive right into what you need to know when managing your inventory.
Browse and Arrange Cards
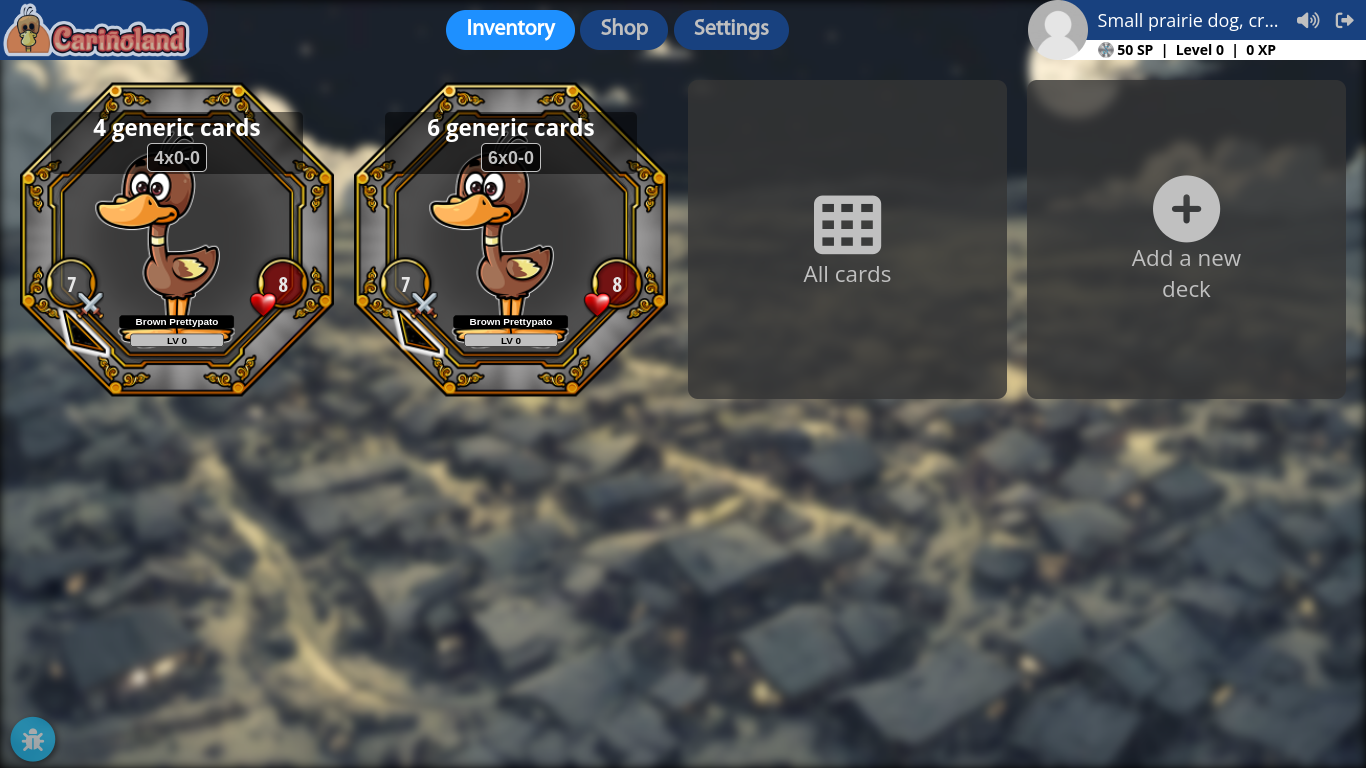
When you enter the game for the first time, a handful of cards are given to you as a compliment. These cards are automatically distributed into two (2) starter decks. When you enter the inventory section of the game, you will notice the two(2) generic decks. Select “All cards” and it will show you the full list of cards in your inventory.
At the top you will see a set of filters, which allow you to sort your deck by various criteria. Some of these filters include strength, age, universe, class, hierarchy and more.
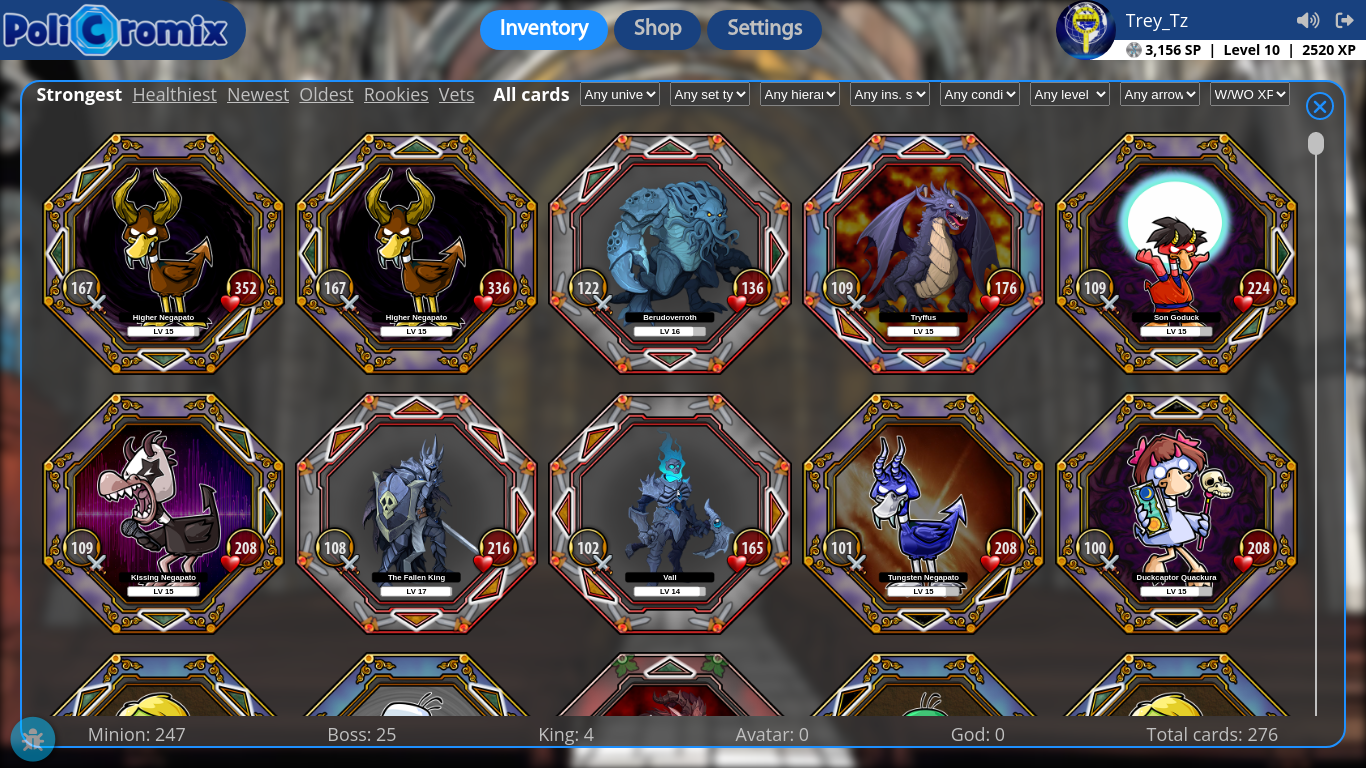
At the bottom, you can see the amount of cards you own in your inventory. It outlines the amount of cards you have from each hierarchy.
Deck Building
Now that you are all familiar with the basics of navigating your inventory, let’s take a look at building a basic deck. You have four(4) basic deck types, six(6) cards, eight(8) cards, ten(10) cards and twelve(12) cards respectively. The decks are for different battle requirements and will be needed to complete the story mode and to play all board types in the game.
In the inventory, select “Add a new deck” to begin the process. Now you will see the deck builder platform, where you can start to put together your cards. Here, you can also sort all your cards by a selected criteria to narrow down the type of cards you are looking for. Also at the bottom is the categorizing of cards by ‘Minions’, ‘Boss’, ‘King’, ‘Avatar’ and ‘God’ (in-game rarity tiers within the fictional universe). Use this feature to quickly browse your collection and pinpoint the cards you want to add to the deck you're creating.
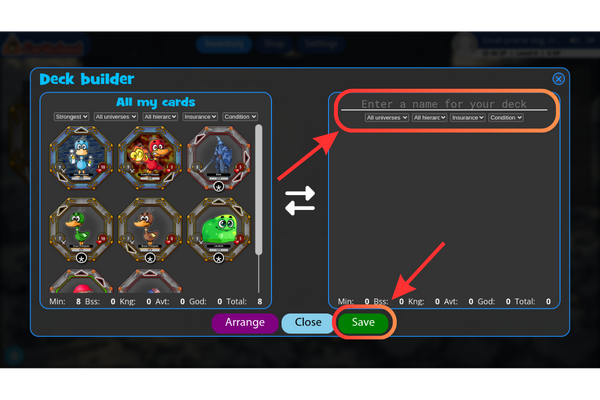
After you have selected the cards for your new deck, it’s to give it a name. This step is critical because the deck will not save without a unique name to identify it by. Enter a unique name to describe your deck and hit ‘Save’.
Now you’re all done and ready to test out your new deck. You can hit the training ground to test out the newly created deck before jumping into a serious battle.
Do you know you can set a label to Trey_Tz?
 PoliCromix has a system that lets users stick labels to other users
as an alternative way to show their appreciation or discontent for
the contents of their posts or their attitude when commenting.
PoliCromix has a system that lets users stick labels to other users
as an alternative way to show their appreciation or discontent for
the contents of their posts or their attitude when commenting.
Do you want to be part of the elite? Become a valuable contributor!


 This website is powered by
Click here to register now!