

Poliminer has a battle system that makes mining more challenging. It is part of the progression method our minigame has built in.

The battle system is a round-based auto battler, and you have a chance to use healing potions at the end of each round.
The battle ends when you defeat the monster or the monster destroys your fighters. Or when you flee.
It all starts when you unlock heaven
When you unlock all mines on "Middle earth" (the base world), Cheesewizard comes up and explains you about a new type of mines appearing, one per region. We called them "pro" mines. Each one has a key to unlock a new realm: Heaven.
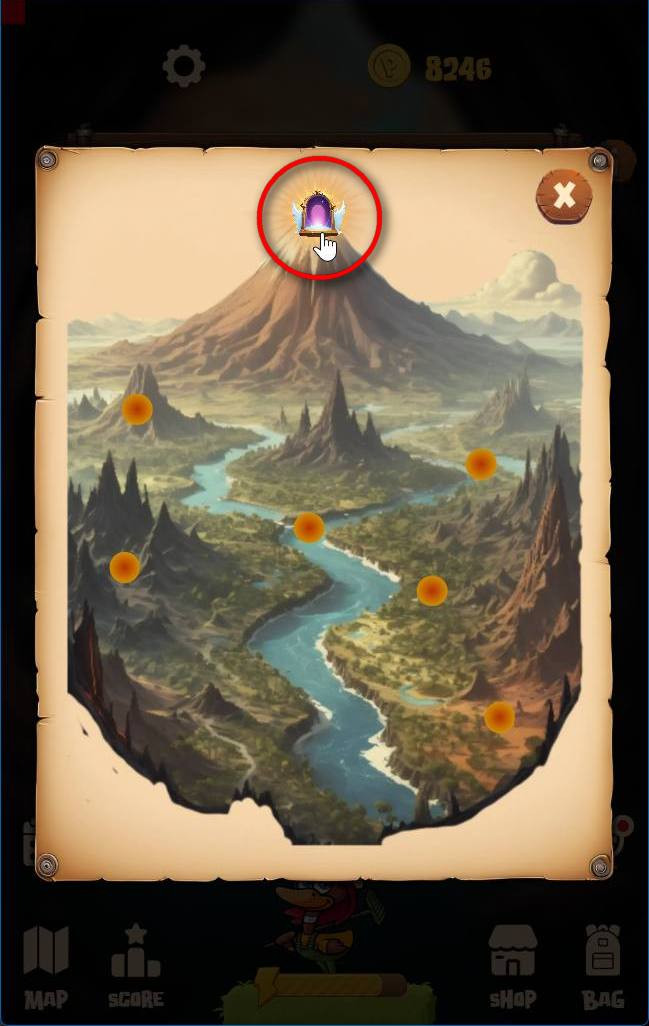
Once you finish them all, Heaven is unlocked, and you can find there more regions and mines. But you'll allso unlock the battle system.
Long story short: Hell is unleashed, and monsters are starting to come up from deep beneath the mines - all of them, even in Heaven!
Cheesewizard comes to the rescue
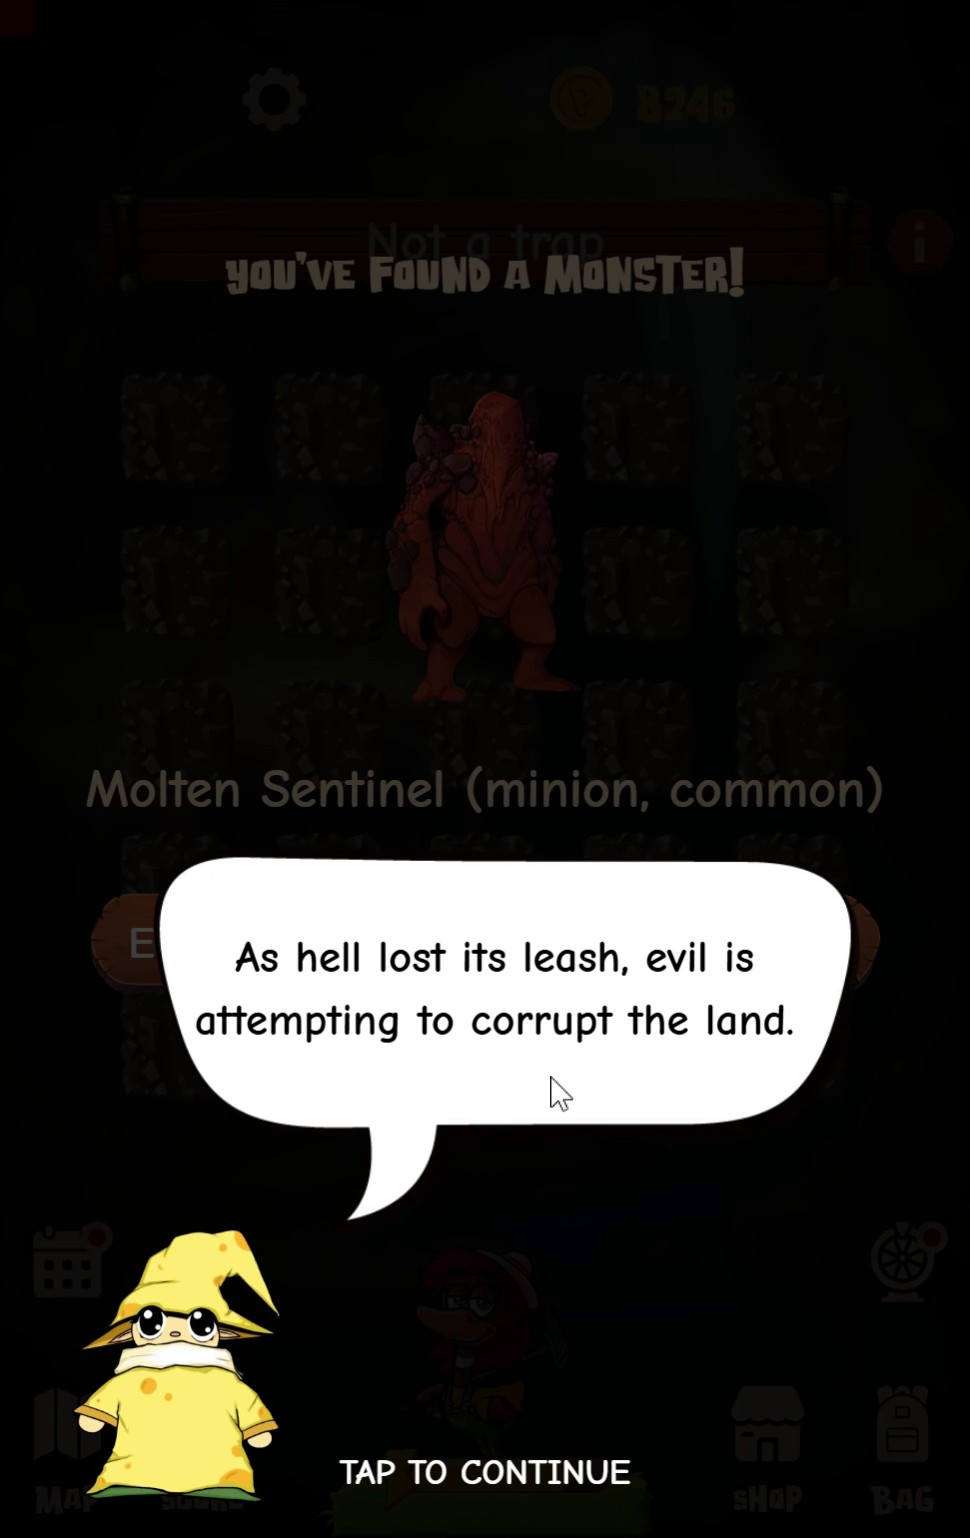
When you trigger the fisrt battle, Cheesewizard pops up and explains you about the imminent arrival of the monsters, and grants you a fully equipped squad of sentinels and a bunch of potions.
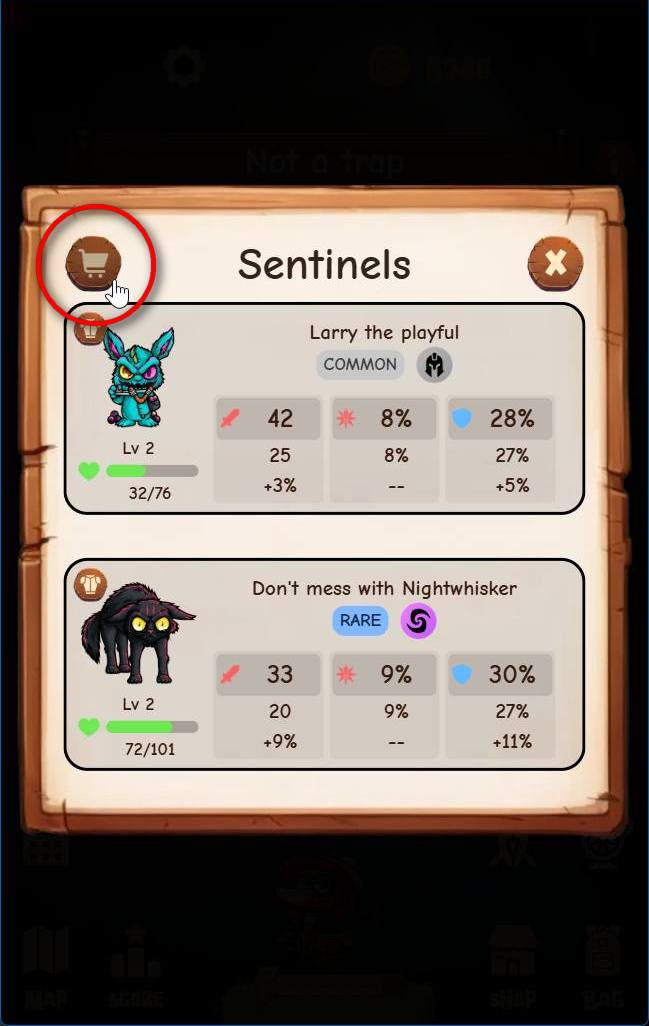
Sentinels will fight for you, and they need gear and weapons.
- RabbitLarry is a bloodthirsty little guy that can perform basic attacks.
- Nightwhisker is a demon cat that has good battle skills.
- Ember is a resilient red dragon.
Potions come in four types:
- Dragon blood (red): repairs your weapon.
- Ether (blue): replenishes the durability of your gear.
- Life potion (green): heals your sentinel.
- Elixir (purple): raises the sentinel's attack power for the rest of the battle.
Gear goes from swords to mauls for attack and protective pieces for all body parts (head, hands, chest, legs and feet).
Battle triggers
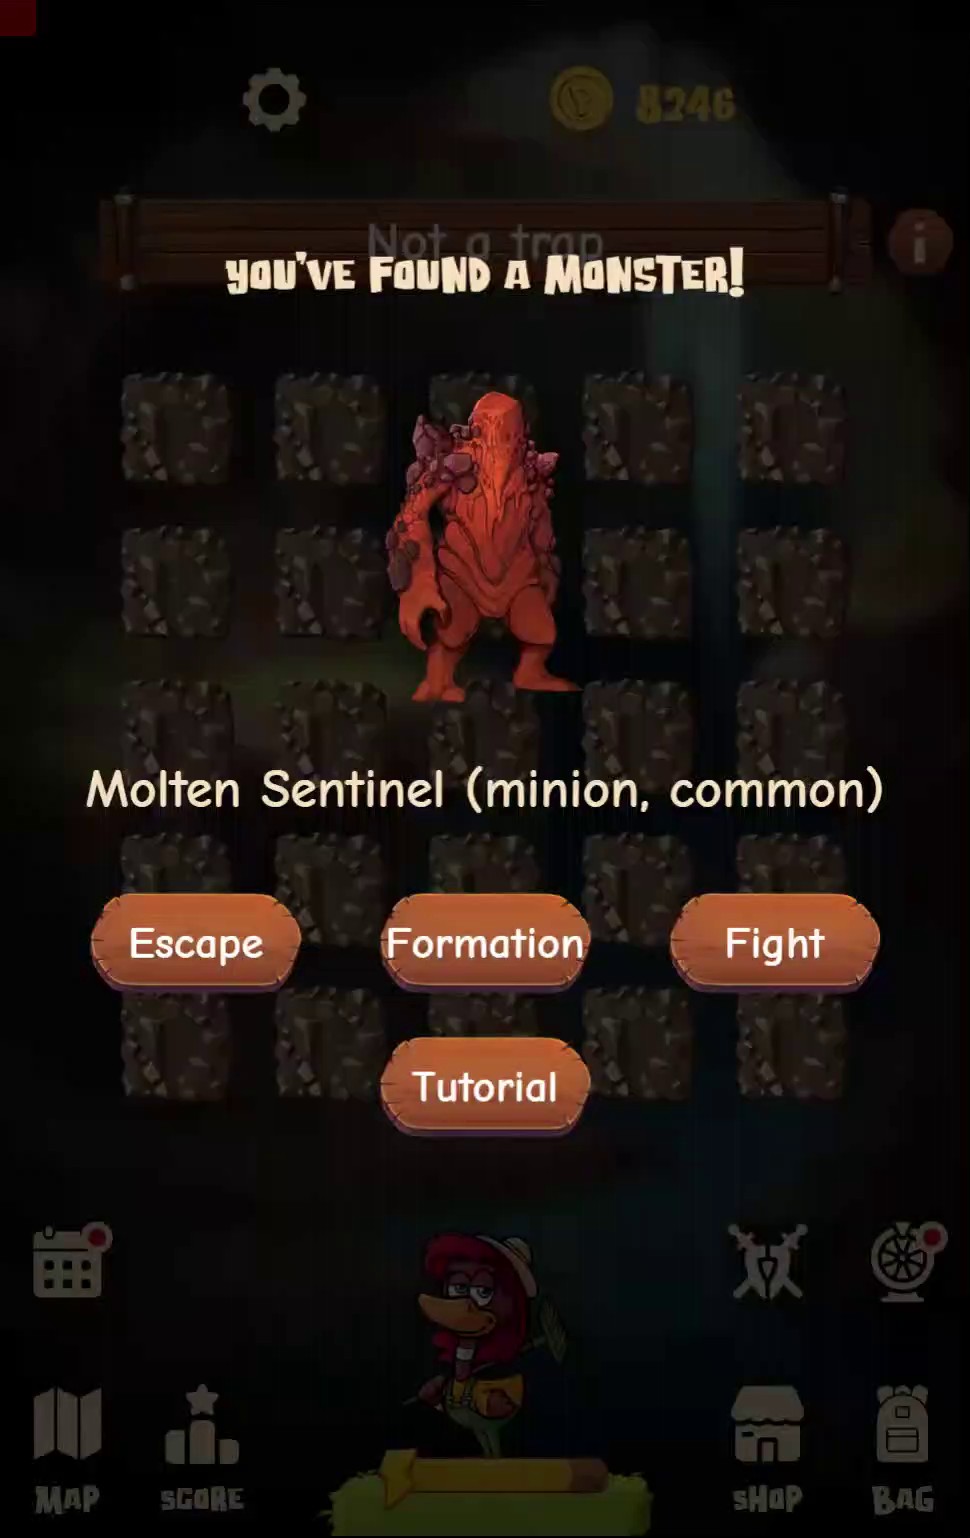
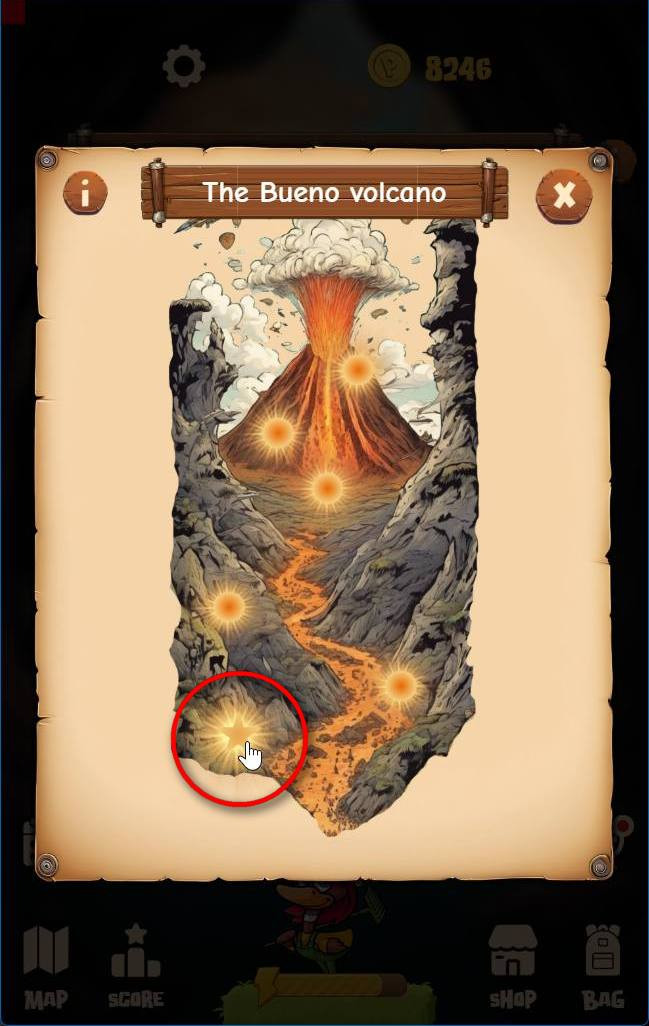
Monsters are waiting for unsuspicious miners. When you regenerate a mine, there's a chance that, during the timeout for the mine to refill, a monster came up to wait for you to step in.
If you got unlucky, you'll get information about the monster showing up so you can decide if you engage or not.
Then, before depleting each mine, you might get a chance to encounter another monster.
The battle screen
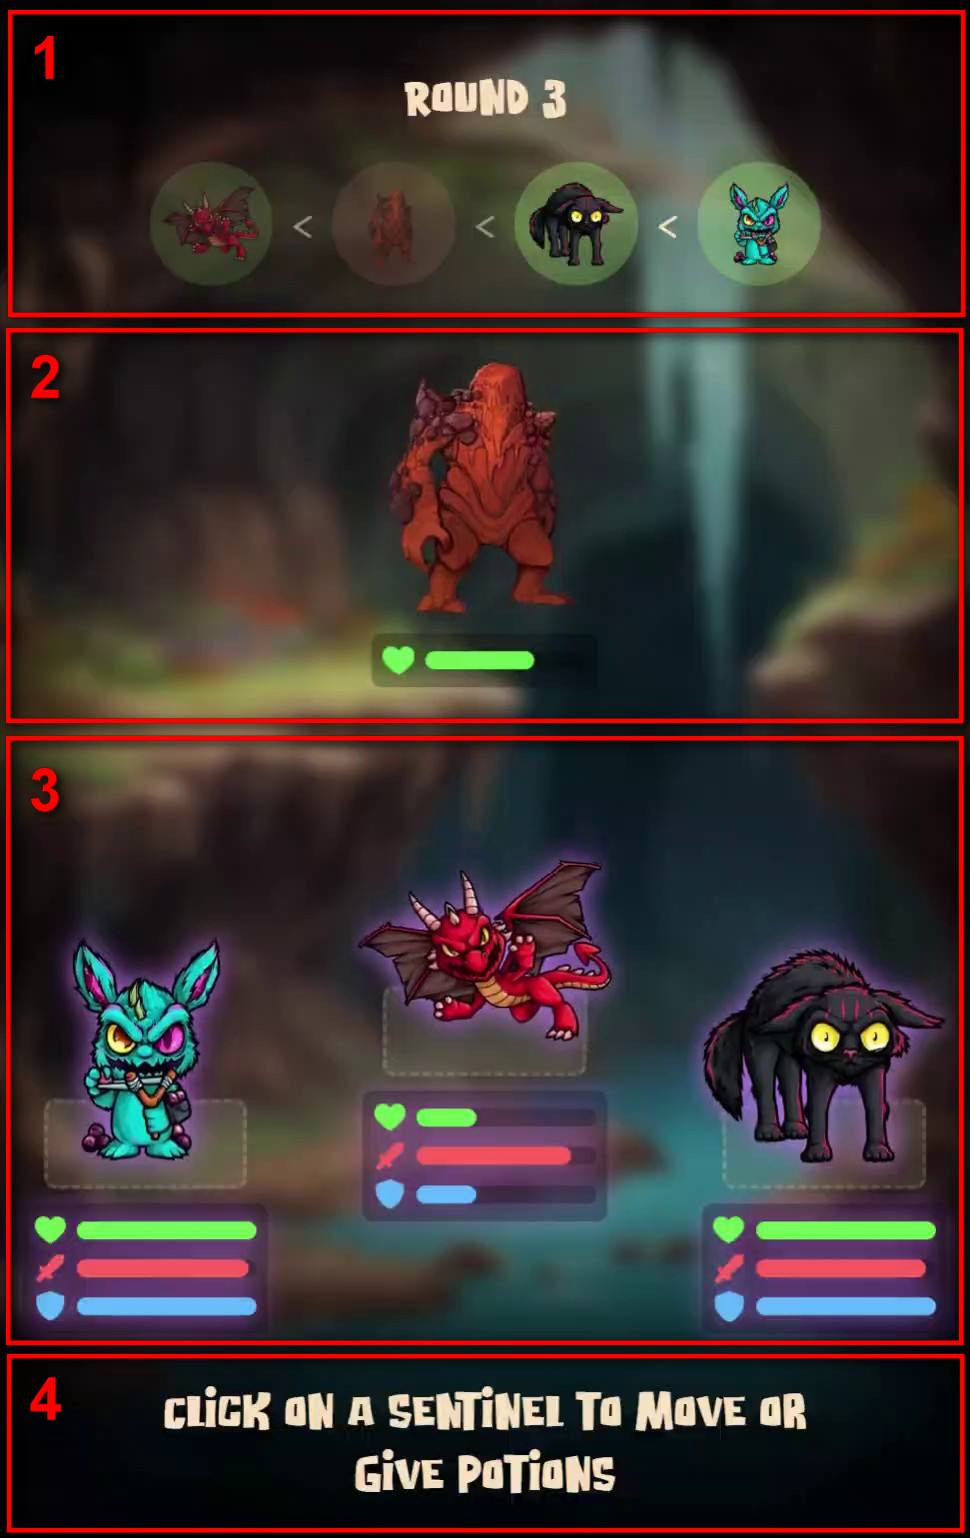
- At the top you'll see the turns layout so you know who's next during the round.
- Then you'll have the monster.
- Then you'll have your sentinels.
- At the bottom is the potion bar.
The formation matters
You can fight with 1 to 3 sentinels each battle. The monster is always placed facing your sentinels, and you can use 6 positions to place them:
- The front row is closest to the monster, so any sentinels here are always attacked.
- The back row is away, so sentinels here aren't attacked unless there's nobody at the front row.
The monster will always attack the closest sentinels at random, unless there's only one.
The formation panel
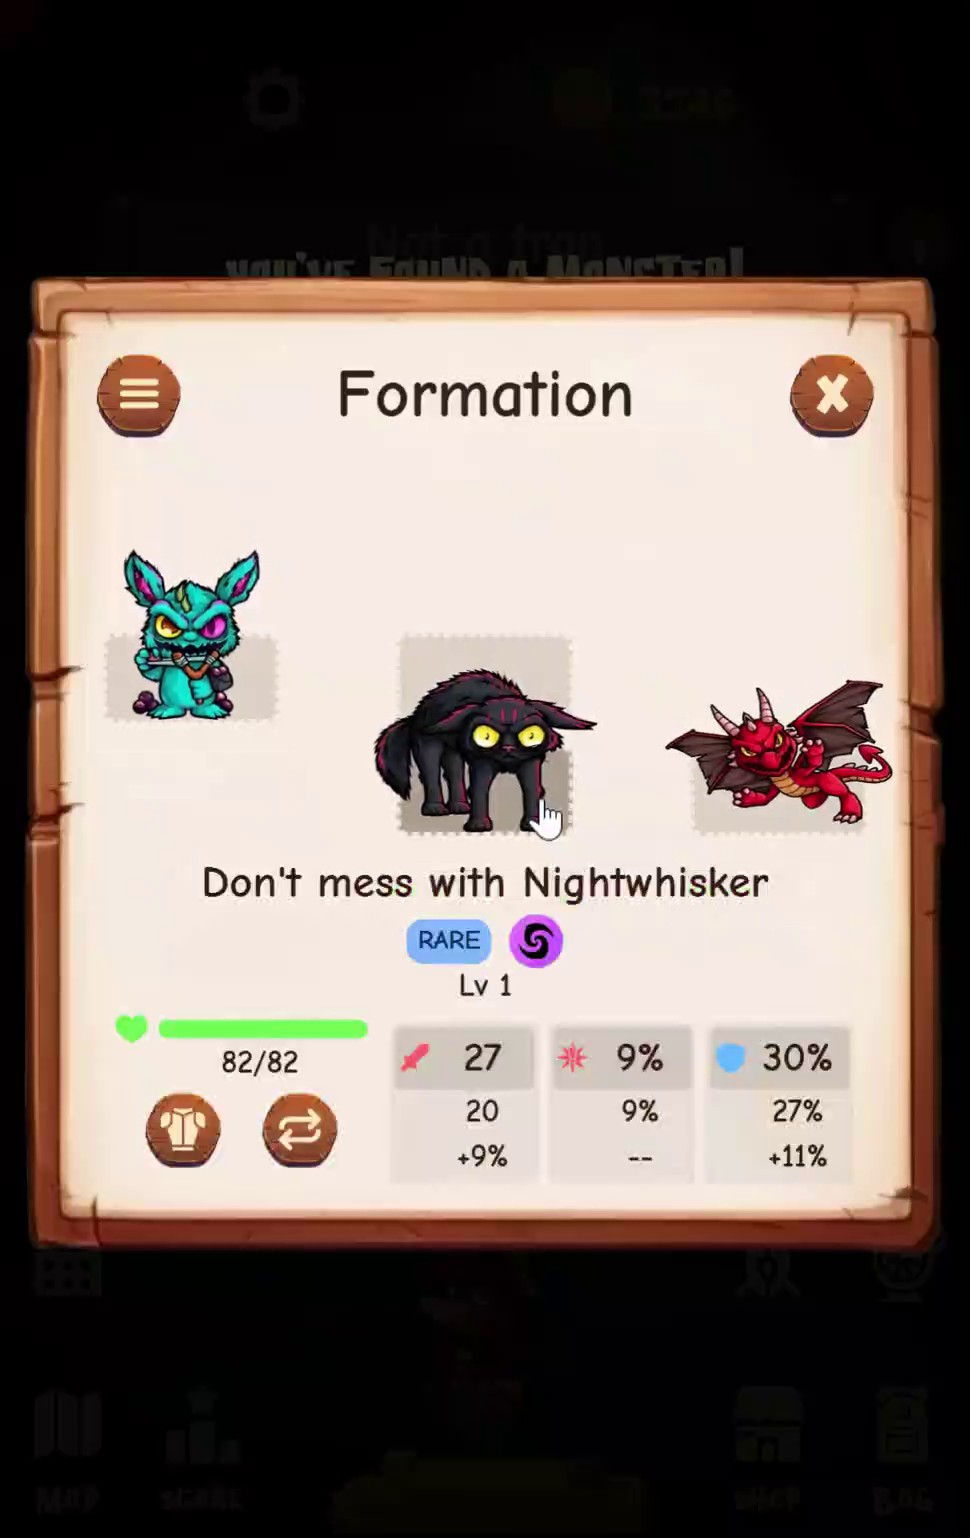
There are two places where you can get this panel up: from the "Formation" button in the battle info screen and from the icon above the shop at the desktop. In both cases, you're presented with your sentinels layout, so you can locate them as you feel best.
Gearing up
When you tap the armor icon of a sentinel, you can access the gear panel to add, remove or swap gear for that sentinel.


Depending on the gear you add, the sentinel stats will change.
- The section with the sword shows the attack power (max damage), the base damage and any bonus.
- The section with the star is the total critical ratio and its base.
- The section with the shield shows the total absorption by the defensive gear, the base and any bonus.
The battle flow
The initiative is chosen at random, so either the monster or one of your sentinels will attack first, then the next and loop until all of them have attacked.
At the end of each round you'll count with 5 seconds to rearrange your sentinels and apply potions to them.
The battle ends when your sentinels kill the monster, or it kills all your sentinels, or you flee.
Damage
From the monster
When a monster attacks, part of the damage is absorbed by the defense gear, thus, the gear wears out until it breaks.
Depending on its class, gear will absorb certain percentage of the received damage. The bigger the piece, the bigger the coverage, and the better the quality, the higher the durability.
Using blue potions will replenish the defensive gear.
Damage from the monster depends on two factors:
- Critical hit: each monster has a different ratio per attack, and if the check is positive, its damage is multiplied by a factor inherent to the monster class.
- Going berserk: each monster has a different threshold, so when its life goes below that, every attack will inflict 2x damage.
Usually, when a sentinel dies, it is beacause all the armor parts are broken. In the rare ocasion that any worn item survives (even the weapon), all non-broken gear will be taken back to the inventory so it can be reused.
From the sentinels
Each weapon has a fixed amount of damage that is multiplied by the attack power of the sentinel. Purple potions increase this factor, so the weapons inflict more damage.
But with usage, weapons wear and tear, so you'll need to use red potions to repair them.
Damage inflicted to the monster will depend on two factors:
- Critical hit: each weapon has a different critical hit ratio. On each attack, a check is done, and if positive, damage will be increased to 2x.
- Evasion factor: each monster has a chance to evade an attack. If positive, sentinel damage is reduced by half.
- Defense aura: a part of the damage is absorbed by it.
The good thing is that monsters can't heal themselves.
⚠️Nothing can be repaired off-battle
Potions can only be used during battle. You won't be able to apply any potion to sentinels or gear anywhere else.
Winning and losing
If you defeat a monster, your sentinels level up and get stronger.
You also get loot depending on the monster.
Any sentinels that are killed in battle can't be respawn. You'll need to buy more, equip them and add them to your formation.
⚠️Damage is persistent, so, if you flee, gear wear will be preserved, anything that broke during battle and killed sentinels will be gone.
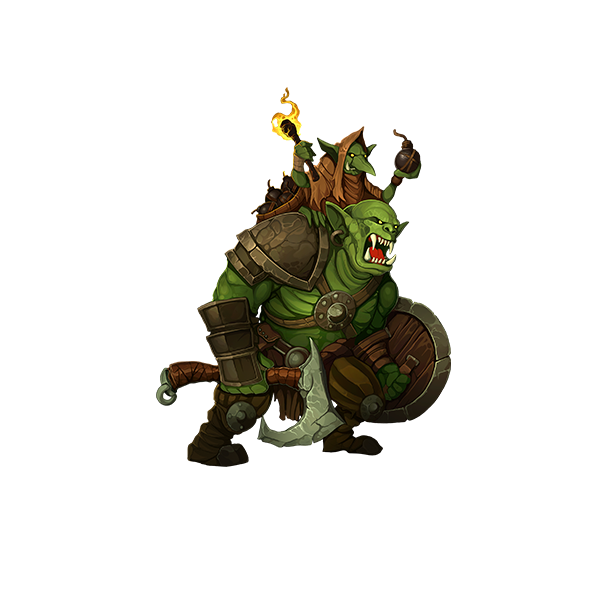
Monster types
There are two types:
-
Minions: low level monsters that are usually easy to beat. Some a bit stronger than others, but overally weak.
They aren't native to any place, so they show up anywhere.
When killed, they might drop rare materials, coins, sentinel gear and in some ocassions, extra sentinels.
-
Bosses: high level monsters that are from hard to almost impossible to beat.
They are bound to each mine, so you won't find them roaming on other mines.
When killed, they might drop the rarest materials, more coins, better sentinel gear and better sentinels.
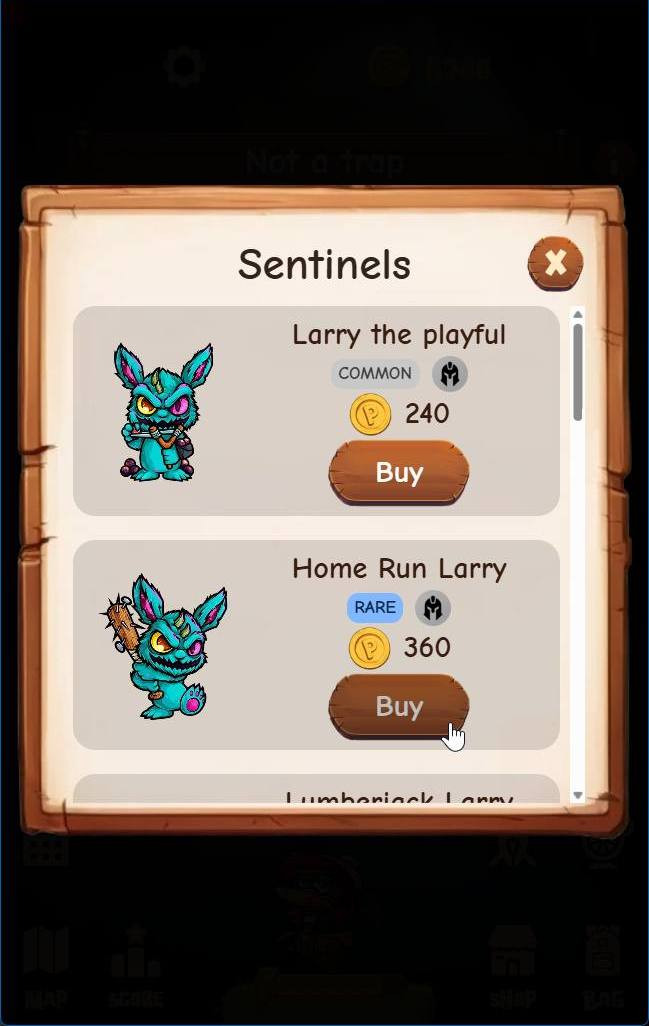
Shopping
To buy sentinels, you hit the cart icon on the formation panel:
To buy gear, you go to the shop and open the Sentinel Gear tab:

Both sentinels and gear are purchased with coins, and you get the coins by selling mined materials, loot from battles, the spinning wheel, etc.
Define your strategy wisely
Monsters are smart. They adapt to the circumstances, and they take advantage of any weakness they discover.
Always take care of your sentinels. Leveling them up is hard and dangerous, but it pays off big rewards.

 This website is powered by